

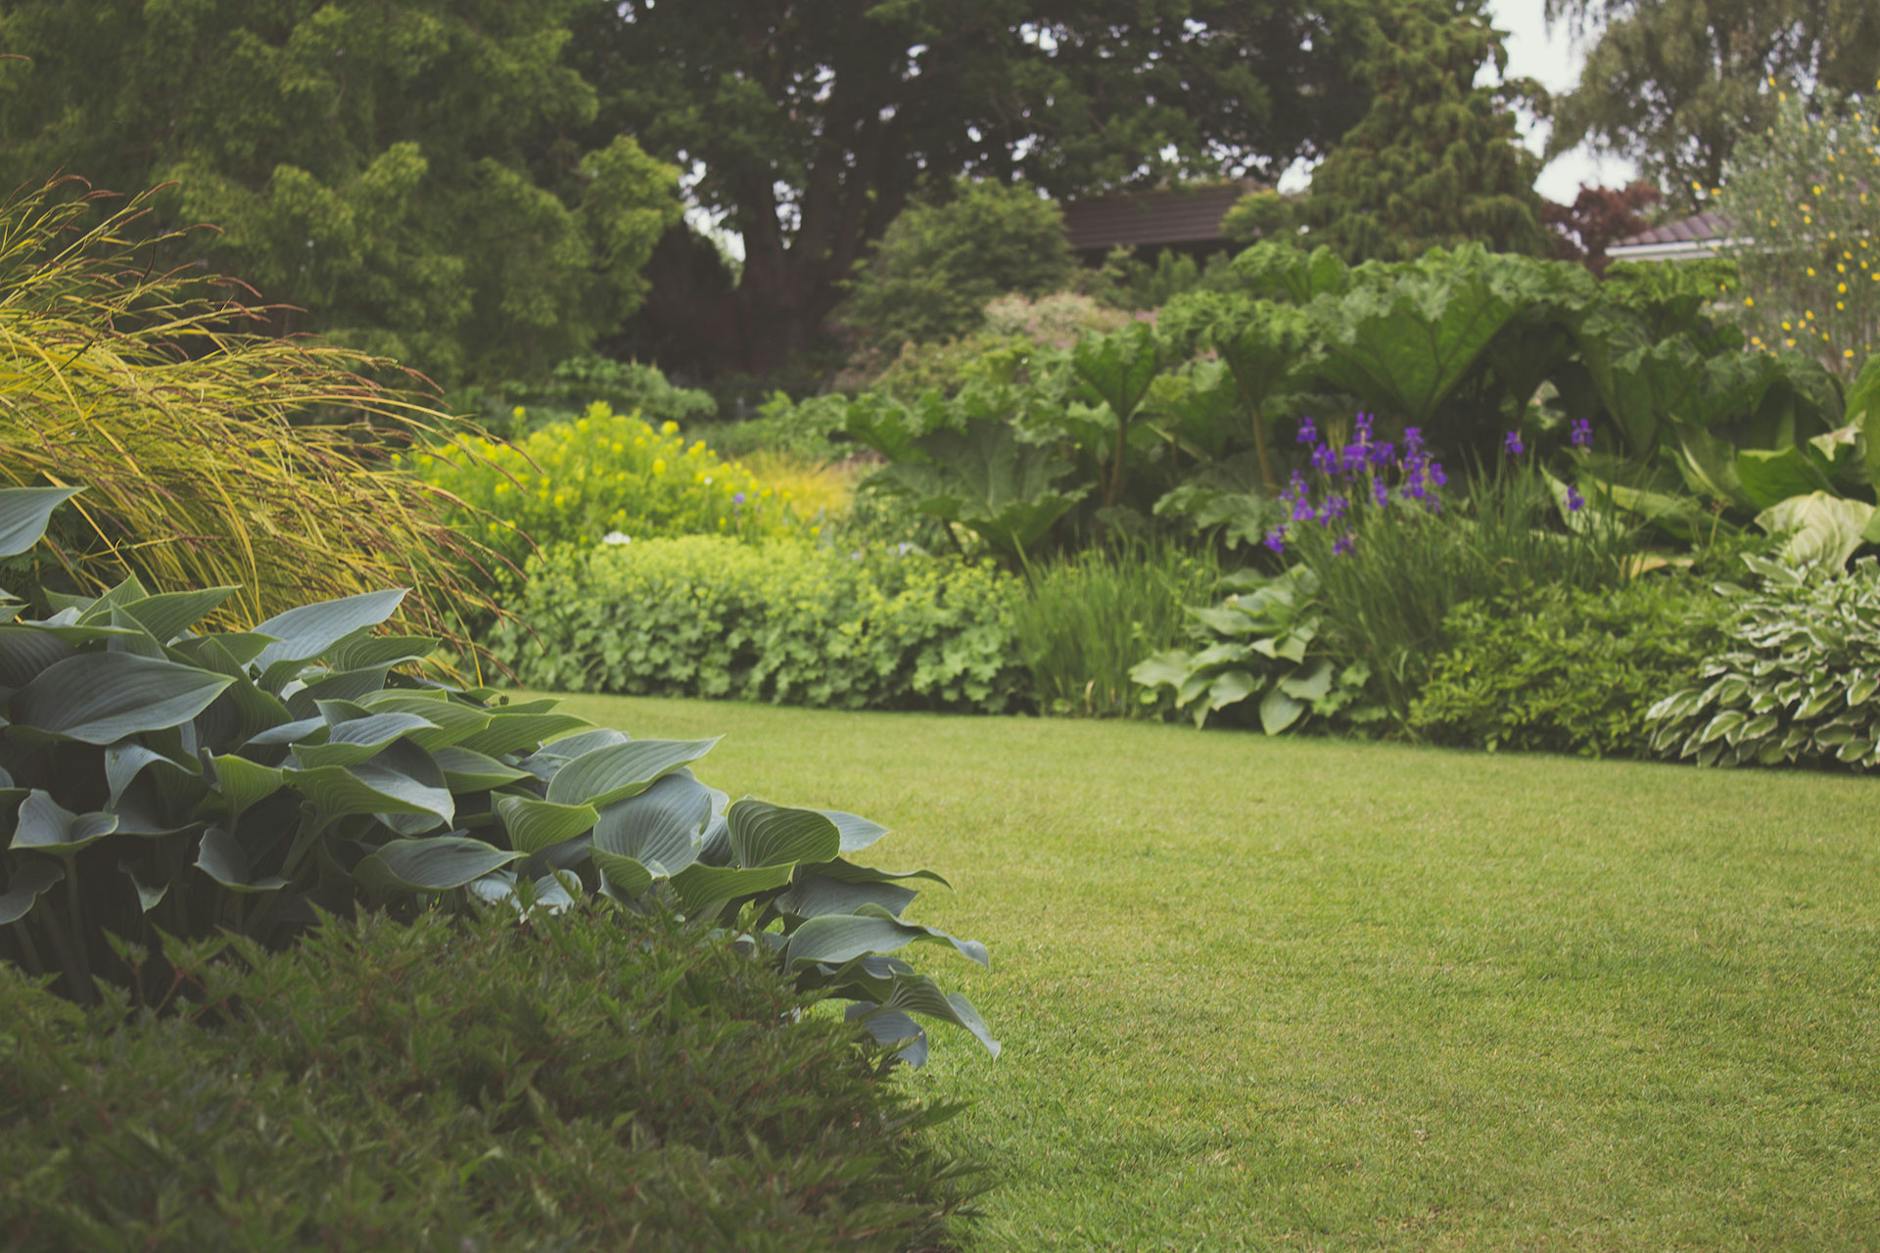
Spring is the perfect time to start a garden, and a raised garden bed is an excellent way to grow vibrant vegetables and flowers. Raised beds offer better drainage, improved soil quality, and easier maintenance. Whether you’re a beginner or a seasoned gardener, this guide will walk you through the simple steps to build a raised garden bed for your spring garden.
Why Choose a Raised Garden Bed?
- Better Soil Control – You can customize your soil mix for healthier plant growth.
- Improved Drainage – Prevents waterlogging and root rot, keeping your plants happy.
- Fewer Weeds – Raised beds make it harder for weeds to invade, reducing the need for constant weeding.
- Easy Maintenance – Less bending and kneeling, making gardening more enjoyable for all ages.
- Pest Control – Elevated beds help reduce pest issues, especially from burrowing animals.
- Extended Growing Season – Raised beds warm up faster in spring, allowing you to plant earlier.
Materials You’ll Need

Before you start, gather these supplies:
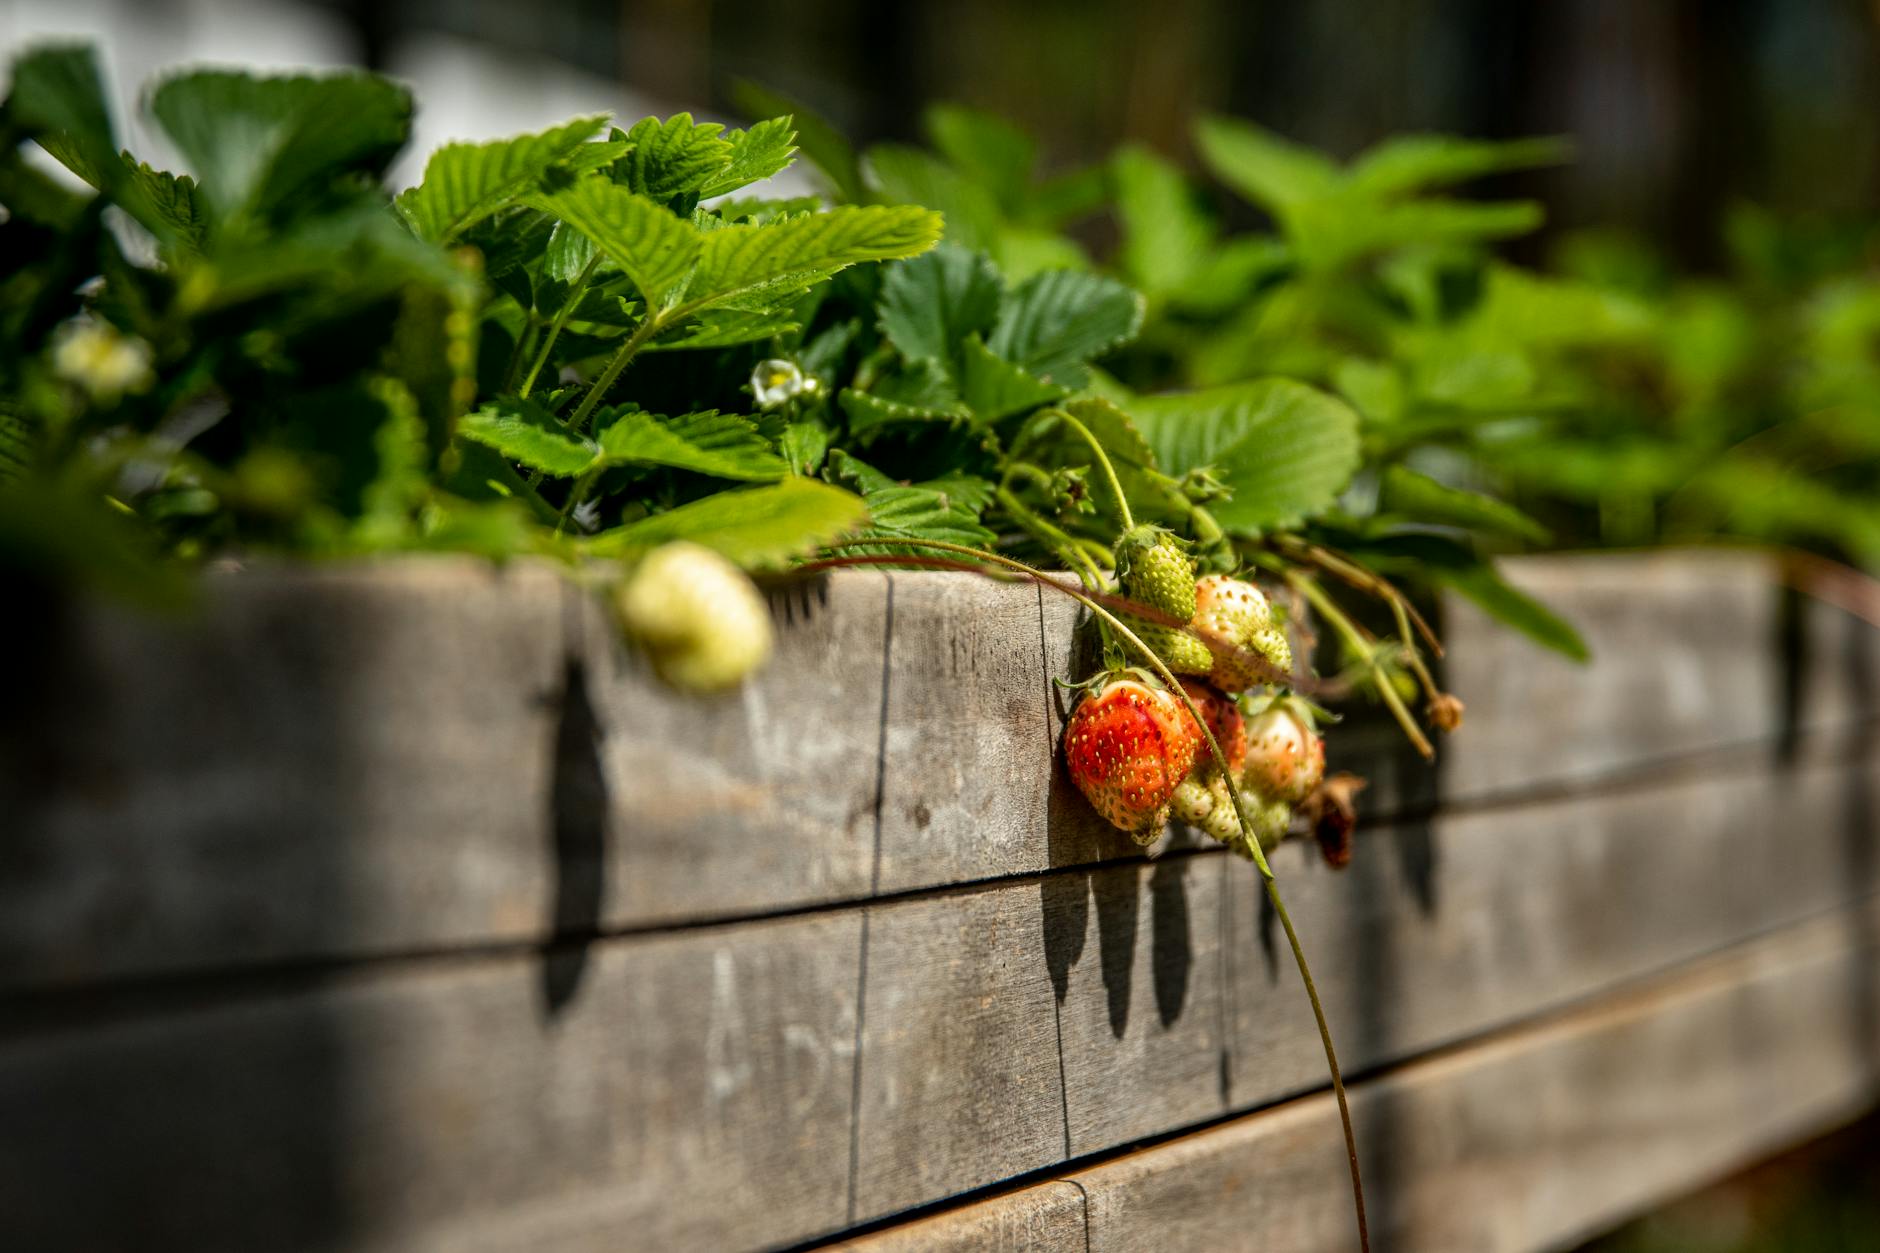
- Lumber (cedar or redwood recommended) – 2×6 or 2×12 boards (length depends on bed size)
- Galvanized screws or nails – To secure the wood
- Drill or hammer – For assembly
- Measuring tape & level – To ensure proper dimensions
- Garden soil & compost – To fill your raised bed
- Weed barrier fabric (optional) – Helps prevent weeds from growing
- Mulch (straw, wood chips, or grass clippings) – To retain moisture and regulate temperature
- Trowel, gloves, and watering can – For planting and maintaining your garden
Step-by-Step Guide to Building Your Raised Garden Bed
Step 1: Choose the Perfect Location
Pick a sunny spot for your garden bed. Most vegetables and flowers thrive with at least 6-8 hours of direct sunlight per day. Ensure the area has good air circulation and is close to a water source. Avoid placing your bed in areas that get waterlogged after rain.
Step 2: Measure & Cut Your Lumber
Decide on the size of your raised bed. A common size is 4 feet wide by 8 feet long, which provides ample space for plants while still being easy to reach from all sides. If you prefer a smaller bed, a 3×6 foot option works great for compact spaces. Cut your lumber accordingly.
Step 3: Assemble the Frame

Using a drill or hammer, attach the boards together at the corners with galvanized screws or nails. For extra durability, consider adding corner brackets or wooden stakes at each corner. If you want an extra-sturdy frame, secure the boards with metal L-brackets inside the corners.
Step 4: Prepare the Ground

Clear the area of grass and weeds. If necessary, place a weed barrier fabric at the bottom to help suppress weeds. Some gardeners also add a layer of cardboard or newspaper to smother any remaining grass. This organic layer will break down over time, enriching your soil.
Step 5: Fill with Quality Soil
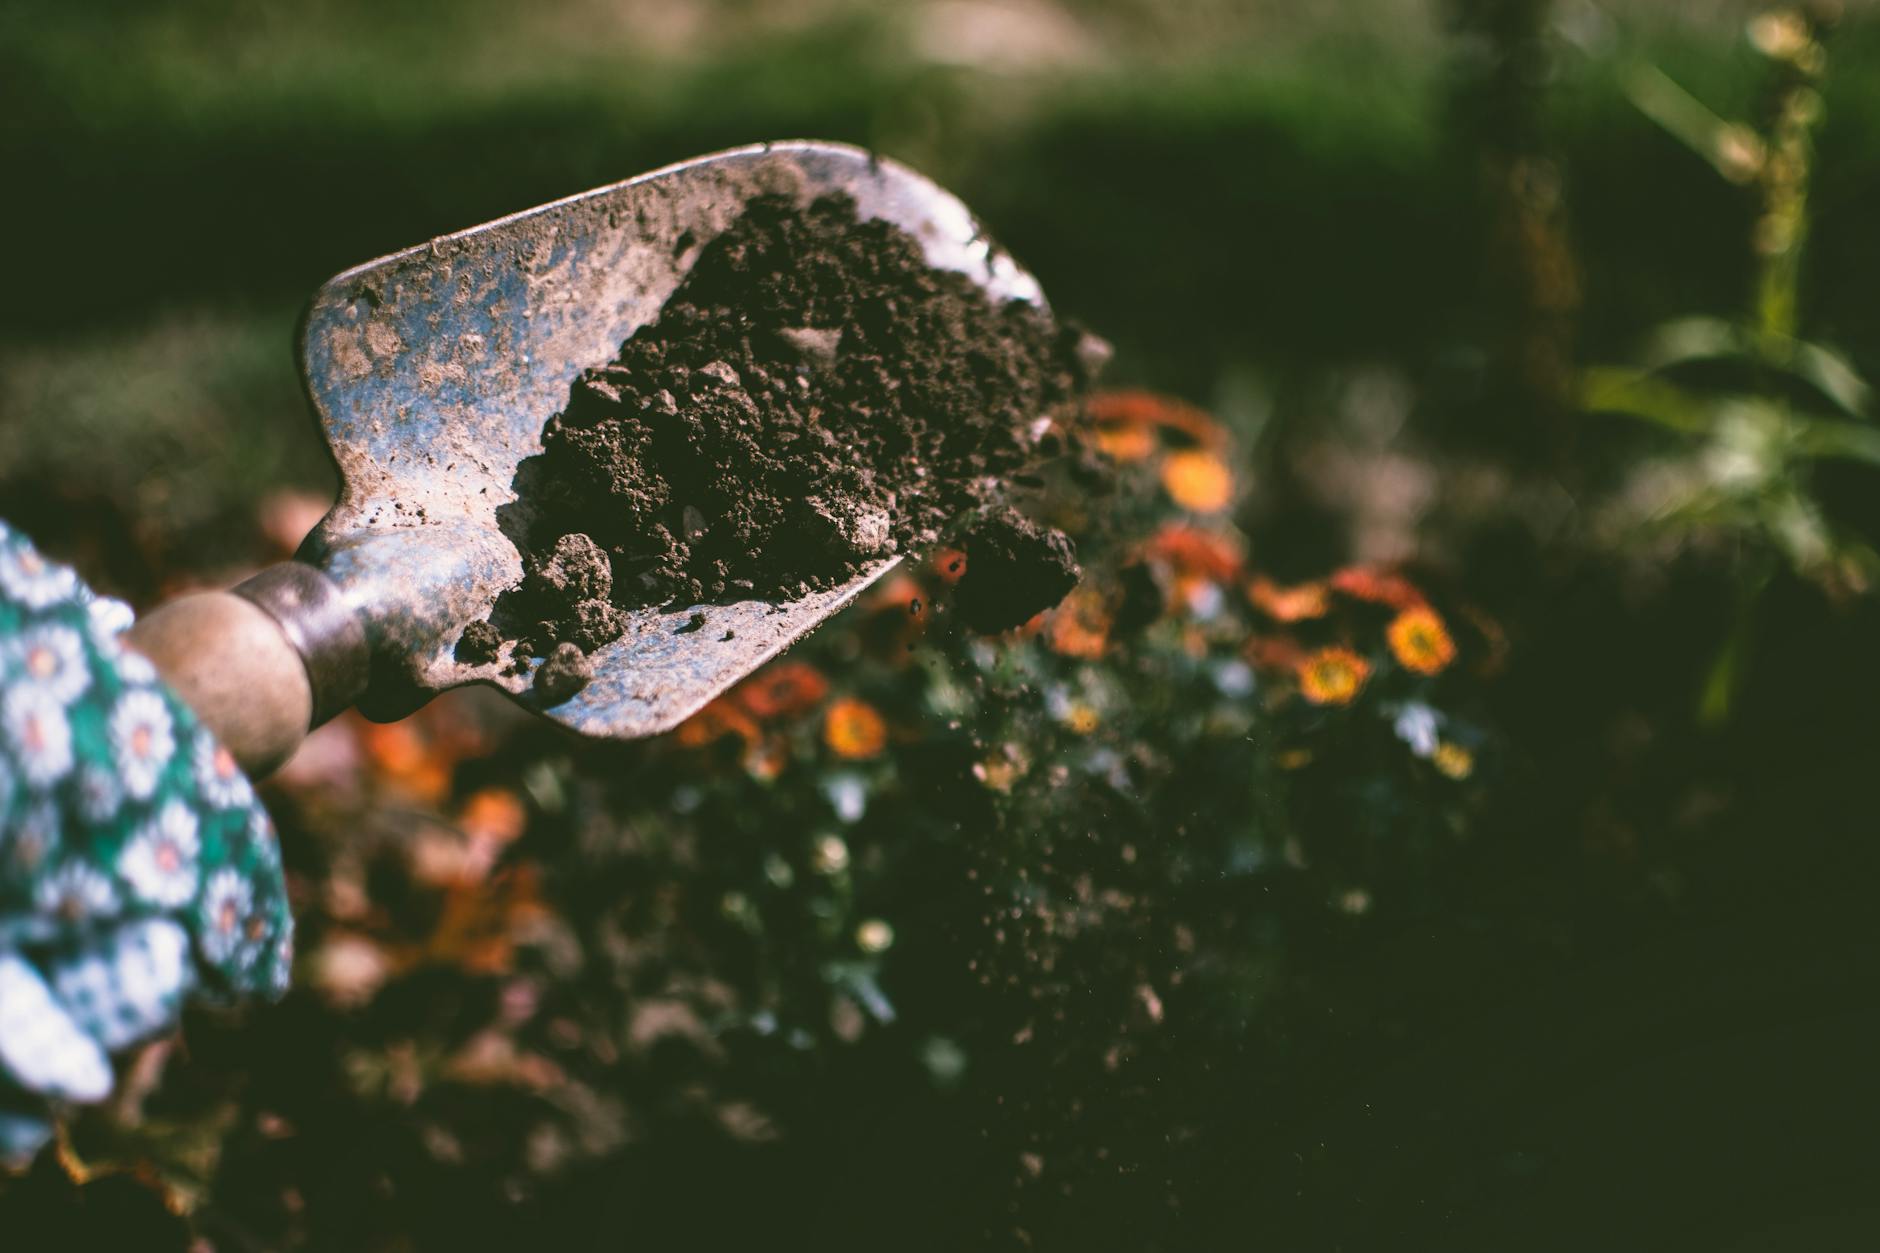
Fill your raised bed with a mix of garden soil, compost, and organic matter. A good ratio is 60% topsoil, 30% compost, and 10% other organic materials like peat moss or aged manure. This provides rich nutrients for healthy plant growth. You can also add slow-release organic fertilizers to give your plants a strong start.
Step 6: Plant Your Spring Vegetables & Flowers

Now comes the fun part! Choose a mix of vegetables and flowers that thrive in spring, such as:
- Vegetables: Lettuce, carrots, radishes, spinach, peas, kale, onions, and beets
- Herbs: Basil, chives, parsley, dill, and mint (great for companion planting!)
- Flowers: Marigolds, petunias, pansies, snapdragons, and nasturtiums (which also deter pests)
- Pollinator-friendly plants: Lavender, echinacea, and sunflowers to attract bees and butterflies
When planting, be mindful of spacing recommendations on seed packets to prevent overcrowding.
Step 7: Water & Maintain Your Garden

Water your plants regularly, but be careful not to overwater. Raised beds drain well, but they can also dry out faster than traditional gardens. Add mulch around plants to retain moisture, regulate soil temperature, and suppress weeds. Consider installing a drip irrigation system for effortless watering.
Bonus Tips for a Thriving Raised Garden Bed

- Rotate Crops: Change plant locations each season to prevent soil depletion and reduce disease risk.
- Use Companion Planting: Grow plants that benefit each other, like tomatoes with basil or carrots with onions.
- Add Mulch: Retains moisture, keeps soil temperature stable, and discourages weeds.
- Monitor for Pests: Keep an eye out for aphids, slugs, and caterpillars. Use organic pest control methods like neem oil or introducing beneficial insects like ladybugs.
- Fertilize Naturally: Use compost tea, worm castings, or fish emulsion to enrich your soil without chemicals.
- Extend Your Growing Season: Use row covers or cold frames to protect plants from unexpected frosts and keep your garden productive longer.
Frequently Asked Questions About Raised Garden Beds

1. What is the best wood for a raised garden bed?
Cedar and redwood are the best choices because they are naturally rot-resistant and last longer than other woods.
2. How deep should a raised garden bed be?
A depth of 12-18 inches is ideal for most vegetables and flowers, but shallow-rooted plants can thrive in 6-8 inches of soil.
3. Can I build a raised bed without wood?
Yes! You can use bricks, cinder blocks, stone, or even metal sheets to construct a raised garden bed.
4. Do I need to line the bottom of my raised bed?
While not required, adding a weed barrier fabric or cardboard layer can help prevent weeds from growing through the soil.
5. How often should I water my raised garden bed?
It depends on the weather and plant type, but a good rule of thumb is to check the top inch of soil—if it’s dry, it’s time to water. Early morning is the best time to water to reduce evaporation.
Start Your Raised Bed Garden Today!

Building a raised garden bed is a rewarding and straightforward way to grow fresh vegetables and beautiful flowers. With just a few materials and simple steps, you can create a thriving garden space that brings colour and nourishment to your home. Whether you’re a beginner or an experienced gardener, a raised bed can transform your outdoor space into a productive oasis.
Now that you know how to build a raised garden bed, it’s time to get your hands dirty! Start planning your spring garden today and enjoy the benefits of homegrown produce and beautiful blooms.
Do you have any favorite plants for your raised garden bed? Share your gardening tips in the comments below!

Leave a comment